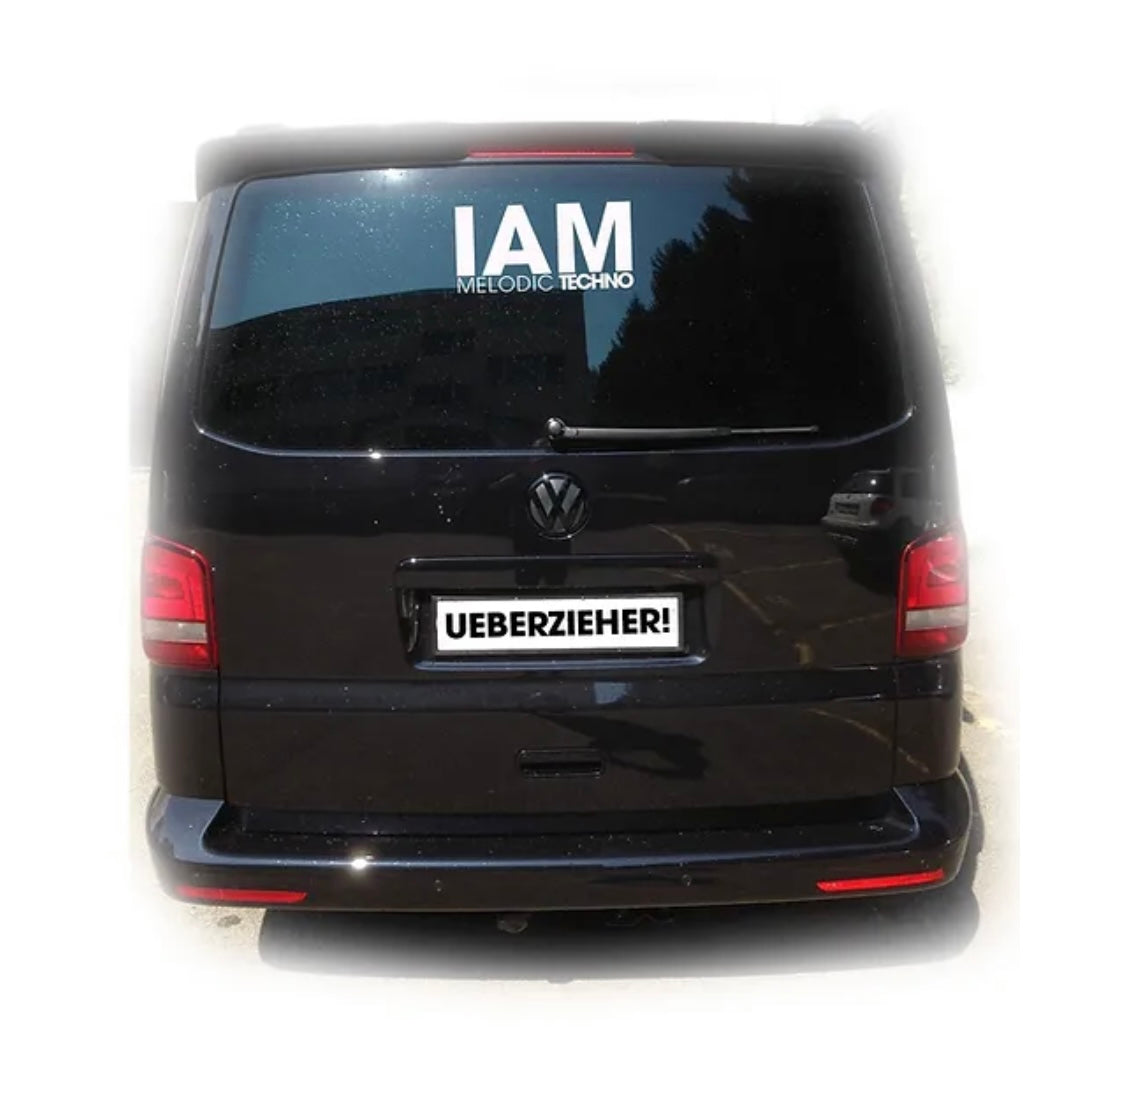
Ueberzieher
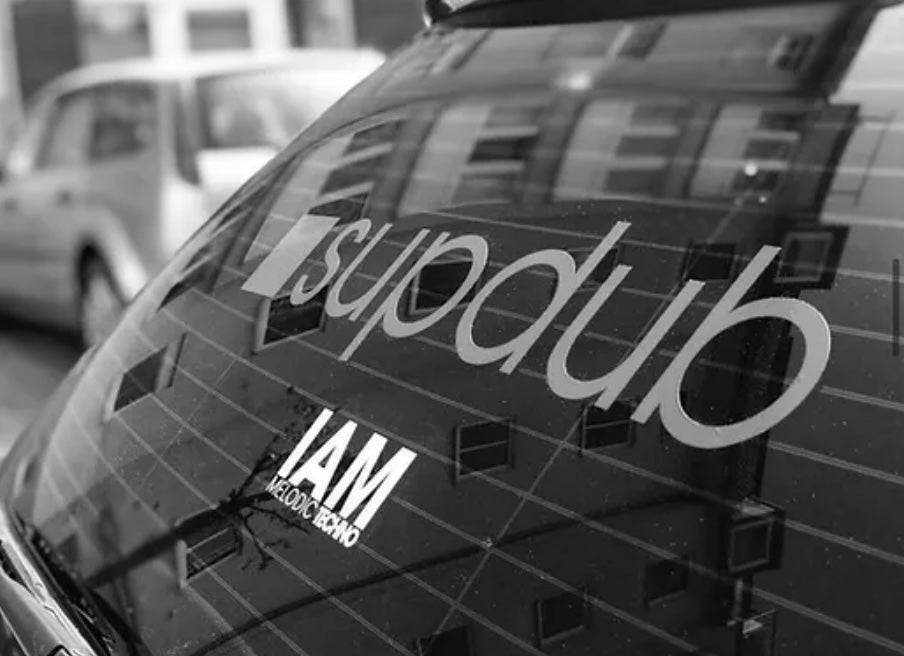
IAM Melodic Techno car sticker
IAM Melodic Techno car sticker
Couldn't load pickup availability
Product features
- high-quality, permanently adhesive film
- easy to apply
- removable without residue
- for indoor and outdoor use
- suitable for all smooth, clean, and silicone-free surfaces
- weatherproof and car wash resistant
- UV-resistant
Color
Black
White
Print:
IAM Melodic Techno Logo on the front
Instructions for applying car stickers
Preparation – What is needed?
Before you can tackle the second step, you should have the necessary accessories ready. The following items are required for applying stickers:
- Plastic squeegee (an ice scraper with a rubber side, a plastic kitchen spatula, or similar tools are also possible) to smooth down the sticker
- Sharp knife (e.g., utility knife) or scissors
- Folding ruler
- Adhesive tape (must be easy to remove so as not to damage the adhesive surface), e.g., masking tape
- Pin (to puncture air bubbles)
Structure of the sticker
For the following dry application instructions, it is useful to know how a sticker is structured and which components it consists of.
- Backing paper (thick, white film on which the motif/lettering adheres)
- Adhesive motif (the actual sticker that remains on the desired surface after application)
- Transfer paper/film (thin, often transparent film), not always included

Further general tips for applying stickers that you should consider before you begin:
- Apply stickers at temperatures between 15°C and 25°C
- Avoid direct sunlight and strong wind
- Do not apply in a dusty environment
- Do not cut lettering into individual letters, as this makes straight application much more difficult
- Get help from a second person
- Allow enough time for the application
- Carefully puncture small air bubbles with a pin and smooth them out
- For stickers that are to be applied to uneven surfaces, heat them with a hairdryer; this makes them more flexible so they can adapt to the surface
- Avoid car washes or manual cleaning for at least 2 weeks
- Clean the surface
The first and most important step is cleaning the application surface. Any dirt such as grease, dust, wax, or silicone must be removed without residue. A greasy surface, for example, can significantly reduce the adhesive strength of a sticker. Contamination increases the chance of bubbles and unevenness forming. The following steps should therefore be carried out at the beginning:
- Thoroughly clean the application surface
- Clean vehicles completely with a sponge at the desired application point or in a car wash
- Clean windows with an alcohol-based cleaner and a cloth
- Professional cleaners, such as industrial rapid cleaner, can also be used for the gentle cleaning of almost all materials
- Let the cleaned surface dry
- Check the surface for dirt again before application
- Cut the sticker/lettering to size
To make it as easy as possible for you, you can cut away excess backing paper at the edges. This allows you to see the actual sticker much better and facilitates subsequent measuring and application. If the lettering or motif is particularly large, it is also possible to cut the sticker into individual segments. If you measure carefully, this will not be visible afterward.
- Press down the transfer paper
Before you align the sticker and measure distances, smooth over its entire surface again firmly. This strengthens the adhesion between the actual sticker and the transfer paper, which is important for trouble-free application.
- Measure, mark, and fix the adhesive position
To ensure the sticker is not applied crookedly, these steps are of great importance:
- Hold the sticker to the desired position
- Find a straight line to use as a guide (e.g., the heating wires on a rear window)
- Hold the sticker with one hand and measure the distances with the other
- Distances to the guide line should be equal at the left and right ends of the motif
- Fix the sticker in the middle at the top and bottom with masking tape
- Double-check whether the distances are still correct
- Apply the sticker
The following steps sound more complicated than they are. The application is best explained with the help of pictures. Therefore, be sure to use the illustrations at the end of the text.
- Lift the right half of the sticker and carefully peel off the backing paper up to the fixed middle
- Cut off the excess backing paper
- Use the squeegee to smooth the sticker with the transfer film outward
- Remove the masking tape
- Fold the left half toward the center and remove the remaining backing paper
- Smooth it down again from the inside out
- Carefully peel off the transfer paper at a flat angle
Information
Attention!! Excluded from exchange!!
Sizes
IAM Logo big print in...
10 cm x 4.91 cm
20 cm x 9.82 cm
30 cm x 14.74 cm
40 cm x 19.96 cm
IAM Lettering in...
10 cm x 0.81 cm
20 cm x 1.63 cm
30 cm x 2.44 cm
40 cm x 8.13 cm
Shipping information
- 8-14 days (print on demand)
Delivery notes
- Delivery is ready for mounting on transfer film
- after application, only the lettering or logo remains
- unroll flat after delivery and apply promptly
- sticker applicable from the outside - if you wish to apply the sticker from the inside, please note this in your order